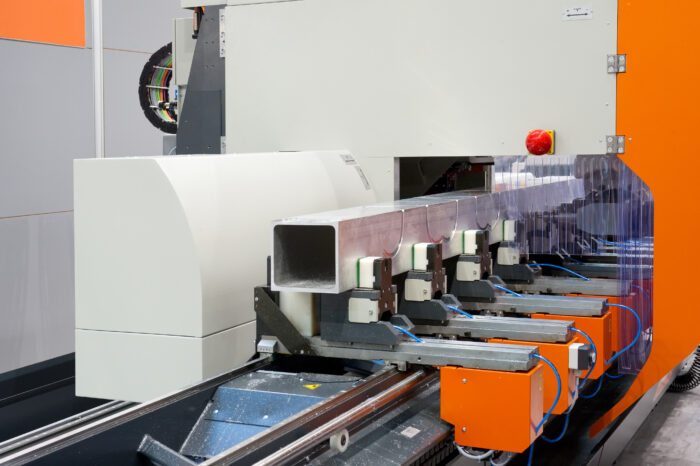
The market size of the Australian metal fabrication industry is valued at $6 billion – a clear indication of the potential for new opportunities in our own country. Quality control processes are crucial in metal fabrication to ensure the final products meet specified standards, customer requirements and regulatory guidelines. It involves monitoring the fabrication process to minimise defects, ensure consistency of quality, and produce high-quality finished products. Here are some common quality control processes used in metal fabrication:
1. Project planning and design
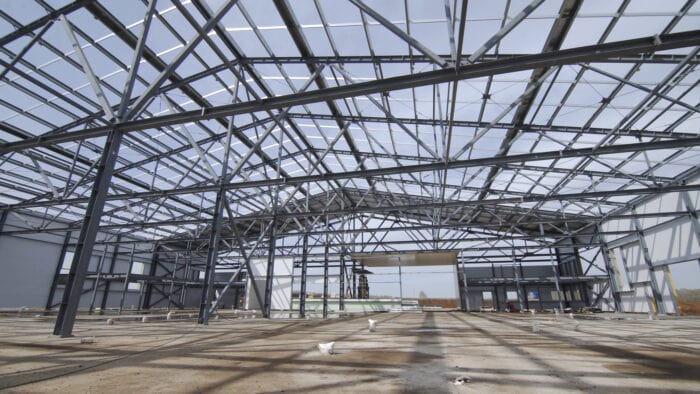
The initial step in the quality control process for metal fabrication is thorough project planning and design. This normally involves detailed engineering drawings and specifications for the metal component or structure. It involves specifying a concept design, materials, dimensions, form, function, aesthetics, tolerances, production processes, surface finishes, safety requirements, and other relevant design considerations. Comprehensive cost estimation should also be created for the project, considering material expenses, labour costs, machine costs and any other expenditure over the project period. It is necessary to liaise with engineers and designers at this stage in order to guarantee strict adherence to regulations and standards for metal fabrication in Australia. For instance, the fabrication of structural components necessitates rigorous adherence to the standards in the Building Code of Australia (BCA) and the Model Code of Practice from Safe Work Australia, particularly for fabrication and welding processes. At this stage, different types of PPE for various fabrication processes may also be identified.
2. Material inspection

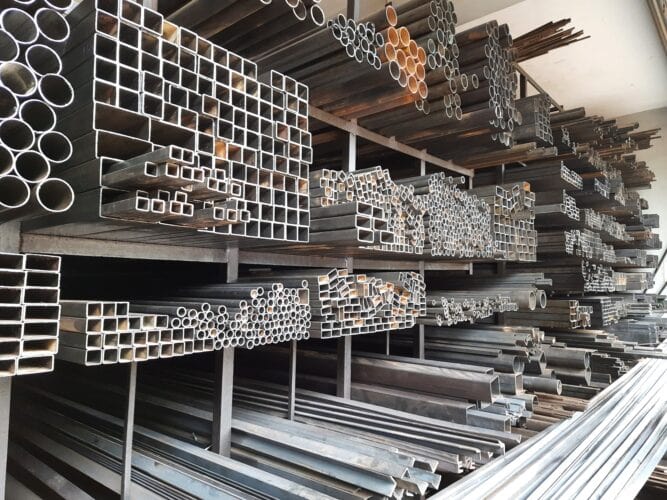
The material inspection stage considers potential defects, dimensional accuracy, and material composition. This includes the identification of corrosion, rust, cracks, and inconsistencies. Accurate measurements of dimensions, thickness, width, length, and diameter are necessary to align with the project’s specifications. Moreover, other factors, such as material grade, traceability information, and heat numbers, are scrutinised to mitigate risks ahead of fabrication. Mechanical tests assessing material properties such as elongation, hardness, tensile strength, and yield strength are performed to ensure the material meets the defined tolerances for the final application. The selection of the appropriate material is paramount. The Australian construction industry has witnessed various disputes involving the use of non-compliant and faulty steel products in both small and large-scale projects with international involvement.
3. Defined processes
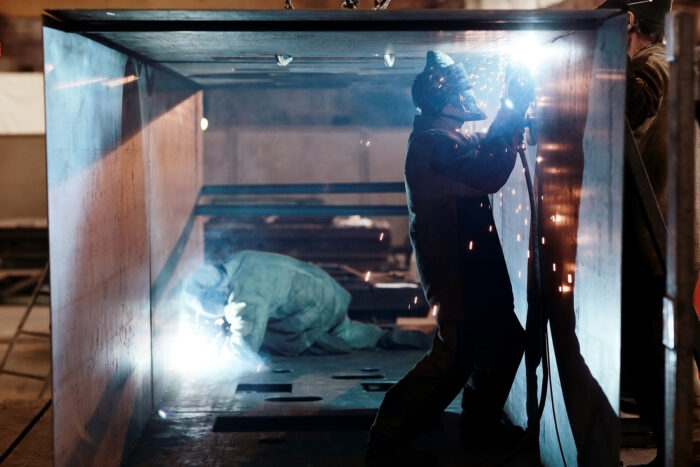
Upon finalising the design and material, the fabrication process is meticulously delineated to accomplish the desired outcome. These processes encapsulate welding, machining, cutting, cropping, shearing, polishing, and finishing, each requiring a skilled professional for execution. Regarding the project requirements, the process definition should be highly specific. For instance, an aluminium fabrication project in Sydney for a window frame must adhere to AS 2047 for windows. The project phases will be distinctly delineated, commencing with selecting materials, followed by machining, cutting, welding, finishing, glazing, and culminating with hardware installation. The creation of holes, slots, and other features will be included in the machining phase. The welding phase will join disparate frame parts to form the final structure. The right finishing process is implemented from the different types of metal finishes available. Every process and step must be clearly defined to facilitate effective quality control.
4. Welding inspection
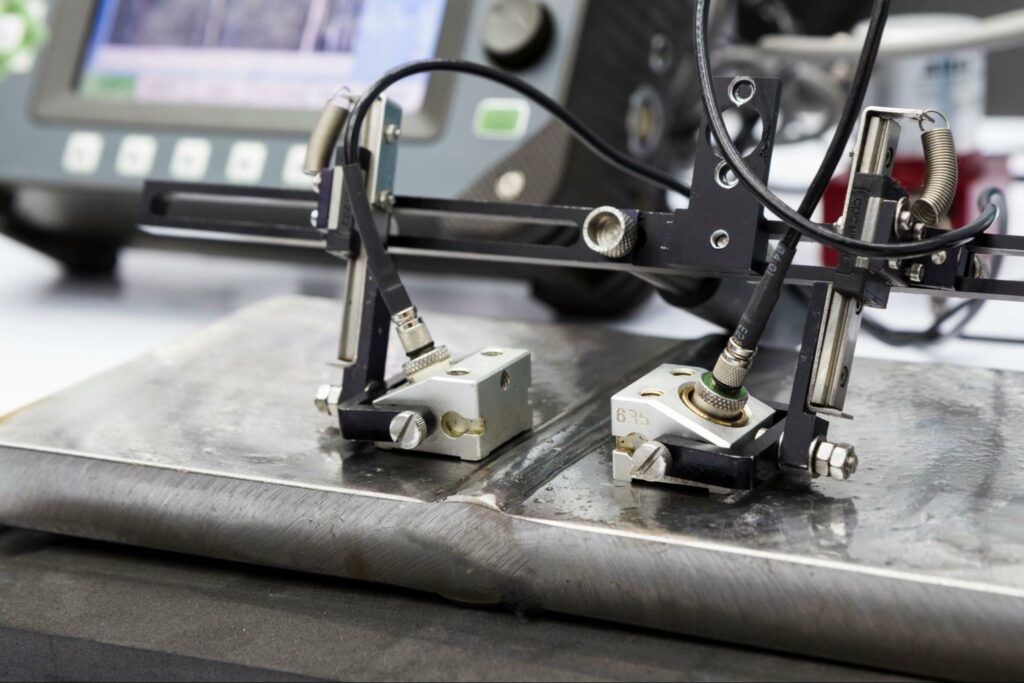
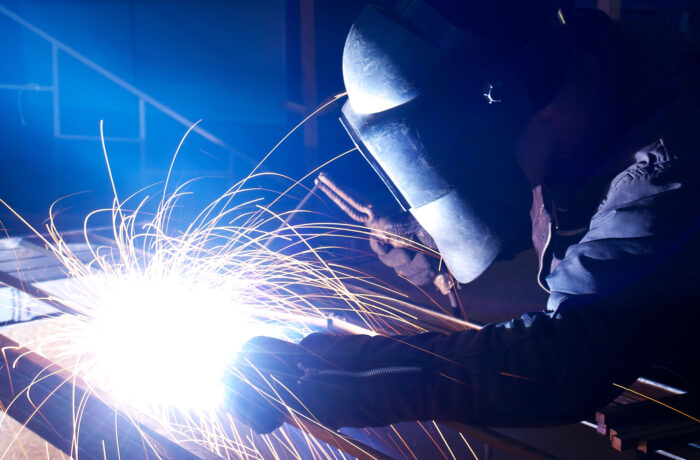
Welding is a critical process in metal fabrication and ensures the robustness of all joints. It ascertain the quality of these joints, it’s essential to scrutinise them for factors like appropriate penetration, the calibre of the weld, and alignment. An initial visual inspection serves as a critical mechanism to identify any potential anomalies during the welding process. However, to supplement these visual checks, Non-Destructive Testing (NDT) techniques, such as Ultrasonic Testing and Radiographic Testing, offer a more comprehensive evaluation of the weld joint. These welding inspection methods provide a robust, in-depth analysis that aids in certifying the structural integrity of the weld.
5. Performance and tolerance tests
Rigorous and meticulous testing methods are of utmost importance for validating the manufacturing of components to the precise specifications and dimensions. This involves a comprehensive examination, including parameters such as dimensions, height, weld-hold positions, as well as performance under diverse conditions, load and pressure testing, and resilience under stress, to authenticate the component’s operational capacities. Such a thorough testing protocol allows us to gain a deep understanding of the material’s formability, hardness, yield strength, tensile strength, ductility, temperature influence, and overall performance, confirming its suitability for the final product. In the presence of anomalies, immediate corrective steps are initiated to safeguard the final product or application’s integrity.
6. Record keeping
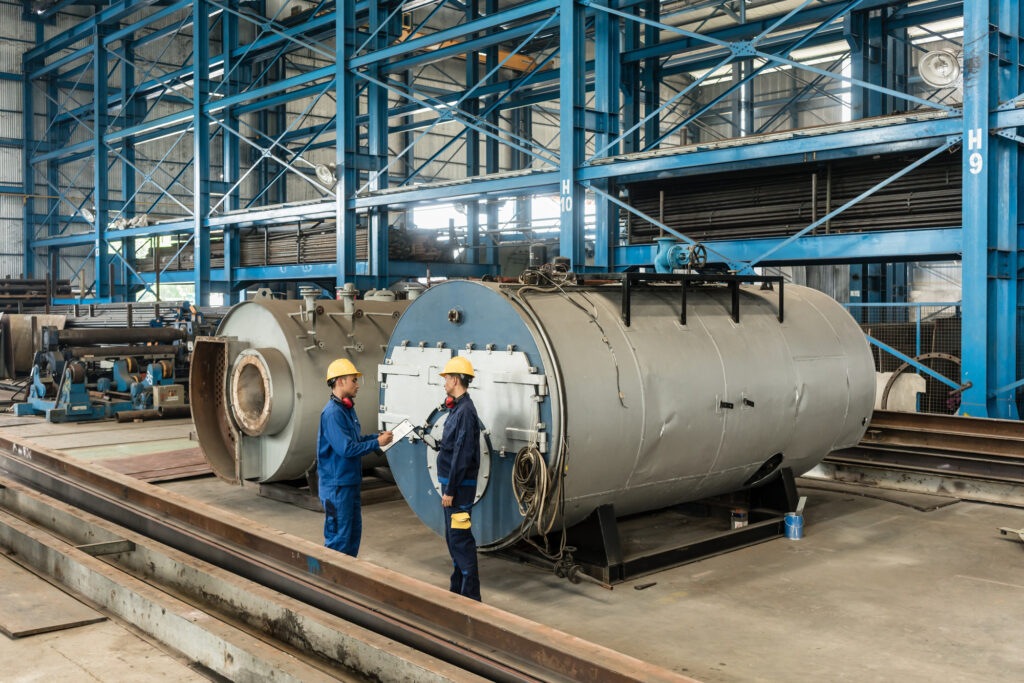
Proper records should be maintained at every stage of fabrication, including inspection reports, deviations from specs, changes to the original plans and more. This ensures accountability and allows for consistent quality control by ensuring that processes are followed correctly. Each step is carefully recorded, including:
- Technician who did the job and their qualifications
- Equipment used
- Steps followed
- Any deviations from the original plan
- Certification of equipment (if applicable)
Tracing the origin of materials and processes so carefully helps identify who did what to determine where things went wrong in case of a defect or issue.
7. Delivery and Transportation
Before shipping, a thorough final assessment is performed adhering to rigorous quality control protocols. This assessment is executed to verify that all components fulfill the defined quality standards and that all quality control procedures have been implemented appropriately. Any final calibrations or corrections are executed at this juncture. This includes an evaluation of potential damage risks associated with packaging, understanding the weight-bearing capabilities during transit, determining the necessity for internal restraints, and the requirement for additional packing to mitigate movement within the container. The goal is to ensure the complete integrity of the fabricated products upon arrival at their final destination. Post-arrival, the components undergo a specific unpacking procedure followed by a thorough inspection for potential damage. In certain instances, the final stages of fabrication may be performed at the destination site.
Conclusion
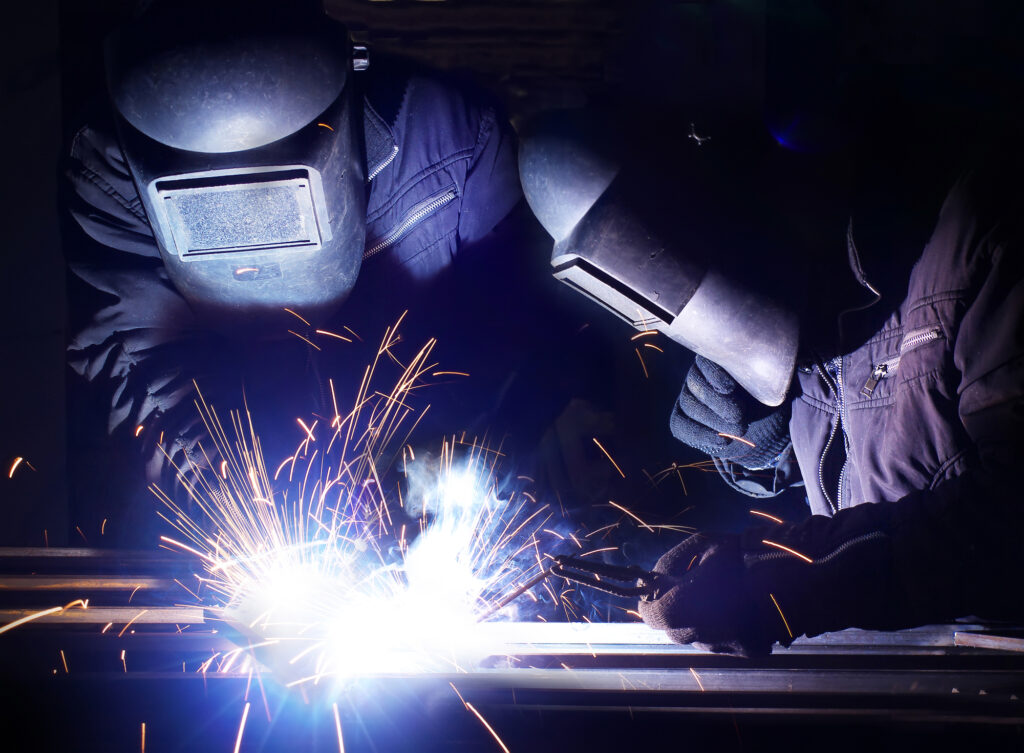
Compliance and quality control are the cornerstones to the success of any fabrication project. With so much involved in quality control, choosing a metal fabrication partner who understands each process and adheres to strict standards is important. Cutting corners at any stage is simply not an option with lives at stake in many cases, so you should entrust your project to a qualified and experienced metal fabrication Sydney professional such as Prime Fabrication. Our expertise extends to all fabrication projects, ensuring every process stage meets strict quality standards with no compromise.


